Set a start time for a sequence
Define a date and time at which you want to start your analysis or sequence.
Prerequisites
You have enabled the editing state for the analysis or sequence.
For an analysis: On the Analysis Info tab of the Details pane, click or tap Planned Start Time.
Click or tap Planned Start Date, and choose the date from the calender. Select Today if you want to set the current day.
Click or tap Planned Start Time, and choose the time from the time picker dropdown.
Select OK to confirm your settings.
Assign additional parameter values to the analysis or sequence if necessary. Note that all mandatory parameters must be specified to schedule the item.
Save your settings to set the item to Waiting state.
Schedule your item.
or For a sequence: In the sequence header of the Sequence view, click or tap Planned Start Time.
The Date and Time Selection tab opens.
or Select Clear to discard your settings.
Your planned start time is displayed for the parameter.
The item is set to Scheduled state, and submitted to the instrument when the start time is reached.
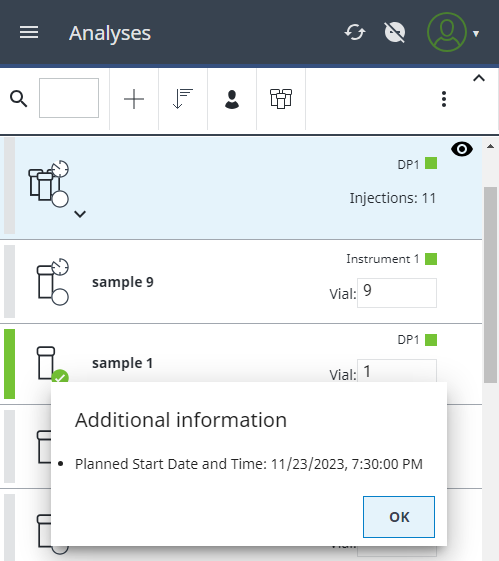
In the Analysis view, time-scheduled items are shown with a clock icon. Clicking the clock icon opens an info box with the start date and time.
Analyses or sequences that are provided with a start time have the highest priority in the run queue, whereby the set start time is decisive for the order in which they are processed. The analysis or sequence with the smallest start time has the highest priority. For identically start times, the analysis or sequence with the smallest ID has priority.
After restarting or resetting an item, your entry for the start time is removed. You must define a new start time for the analysis or sequence.
If you change the time zone on your device, the Sample Scheduler only updates the time events to the correct time of the new time zone after the device has been restarted. |