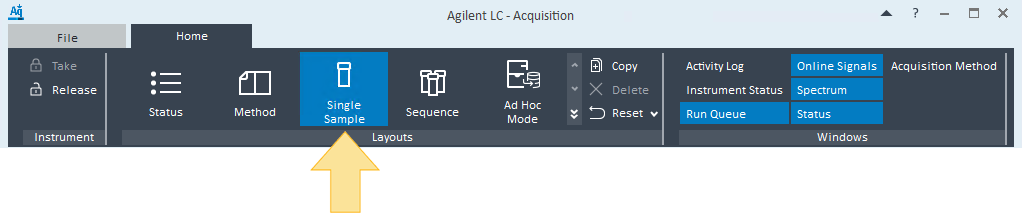
Run a single sample
Click Single Sample.
The last entries made in the Single Sample Analysis window are displayed.
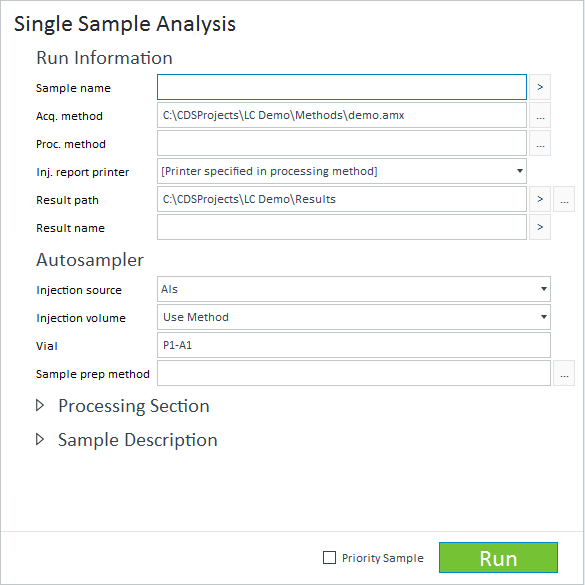
Complete or edit each section as applicable. If the acquisition method, processing methods, or sample prep method defined are obsoleted, then the run cannot be submitted.
Table: Run Information: General sample information Parameter
Description
Sample name:
Appears on reports you may generate for this analysis. Use the tokens
 to simplify this entry. Windows forbidden characters (\ / : * ? " < > |) are allowed in this field.
Acq. method*
(.amx) the method used to acquire the data. Use Browse
 to select a method from the current project's method directory.
(.pmx) the method used to process the results. If not specified, data acquired will not be analyzed at the end of a run. Use Browse
to select a method from the current project's method directory.Inj. report printer:
Select a printer from the list if you want to override the printer specified in the processing method.
[Printer specified in processing method]: The printer currently specified in the processing method.
[Local Printer]: The printer set as the default printer in OpenLab CDS 2.6 or earlier.
[Default Printer]: The printer set as the default printer in Control Panel. If no printer has been set as default, the option still appears but without an associated printer.
User-defined printers: The shared printer(s) created in Control Panel.
Result path*
The location where the data file will be saved at the end of the run. The default location is the project/results folder directory.
Result filename:
The name of the datafile that will be saved. Use the tokens to simplify this entry. If left blank, the instrument name and local date & time is used for the filename. Windows forbidden characters (\ / : * ? " < > |) are not allowed in this field. If forbidden characters are entered, they will be resolved as "-". For example, "Batch/001" will be resolved to "Batch-001".
* Required entries
Table: Autosampler Parameter
Description
Injection source:
The location of the injection. If there are multiple autosamplers, they will be listed in this drop-down menu. Different injection sources will be available depending on the instrument's configuration.
Select External when the injection source is not controlled by OpenLab CDS.
Select No Injection/Instrument Blank when a blank run (by passing autosampler) is needed.
Injection volume:
The amount (in microliters) of sample to be injected. If the injection source is external, this field is used for reporting purposes only.
Vial:
(.pmx) the method used to process the results. If not specified, data acquired will not be analyzed at the end of a run. Use Browse
to select a method from the current project's method directory.Sample prep method:
The method used to define actions performed by the sampler prior to injection of a sample. This option is only available when using an instrument that has a sampler configured.
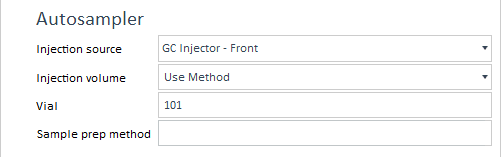
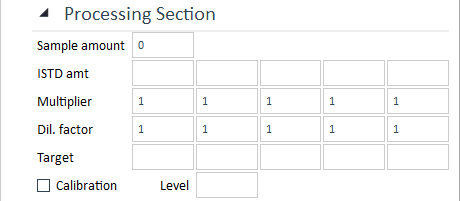
Table: Processing section Parameter
Description
Sample amount:
The representative amount of sample used in the injection.
ISTD amt:
The internal standard amount added to the sample when using internal standard report calculations.
Multiplier:
A scaling factor applied to calculation results before they are reported. A Multiplier is often used to compensate for changes in sample volume that occur during sample preparation.
Dil. factor:
A scaling factor applied to calculation results before they are reported. Dilution can be used to compensate for changes in sample volume that occur during sample preparation.
Target:
Used for specifying a formula or molecular mass of a target molecule (Mass Spectrometry only) for a Sample Purity Calculation.
Calibration Level:
Used for plotting your calibration on a calibration curve. To mark your single sample as a calibration sample, select Calibration. Enter a number to give your calibration sample a Level.
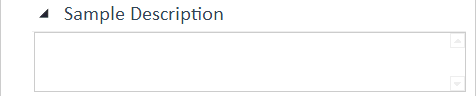
Sample Description: You may enter a short note or description of the sample being run (4096 character maximum).
Sample Custom Parameters: If sample custom parameters were defined in the Control Panel, you may edit or delete the parameter values.
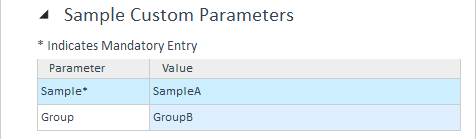
You can:
Keep all default values.
Click in the Value column to enter, change, or delete the value for that parameter. Mandatory parameters must have a value.
Override Method Parameters: If your instrument supports the Override Method Parameters feature, a table of parameters that can be overridden is displayed. These are dependent on your instrument configuration. See your instrument-specific help for more information. For each sample where you want to use a modified parameter, enter the new value in the Value column. This value will be used in place of the value defined in the acquisition method. If no value is entered, the acquisition method value will be used. You must have the Edit method override parameters privilege to override a value.
Select Priority Sample to run the sample before any other pending runs in the Run Queue, after the currently acquiring injection. You cannot add more than one pending priority sample in the Run Queue. You cannot submit a priority sample if you are taking a snapshot, editing a sequence, reviewing a complete injection, reordering the Run Queue, or have paused the Run Queue. You cannot reorder a priority sample. If a priority sample is run while a sequence is acquiring, the sequence will pause after the currently acquiring injection, and the priority sample will run. This feature is only available to users with the Run Priority Sample privilege or Chemist role assigned.
Click Run to add the single sample run to the Run Queue. A result folder (.rslt) is created when the run is added to the Run Queue.
If an error is present, see Validate single sample parameters.
base-id: 12675029131
id: 12675029131